
Peggy Healy Stearns: Under the Big Top With Maker Studio

The following blog post is by Peggy Healy Stearns, Lead Software Designer, Fab@School Maker Studio at Reynolds Center for Teaching, Learning and Creativity. This post first appeared on her blog.
At the STEAM Carnival in San Francisco, kids were eager to use Fab@School Maker Studio to design and fabricate paper and cardstock pop-ups, lanterns, buildings, and movable constructions. For adults, the colorful and lively carnival stirred memories of circus tents and pinwheels and cotton candy – and inspired carnival themed-projects. We set out to design these projects with Maker Studio. (All but the cotton candy, that is.)
Basic Pinwheel
Make a square and draw diagonal lines connecting opposite corners. Add a hole in each corner and one in the middle. Cut from the corners to about an inch from the center. Then fold all four corners to the center and place a pin through the corner and center holes.
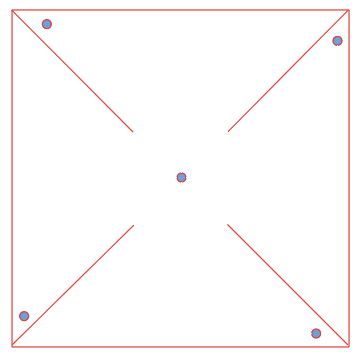
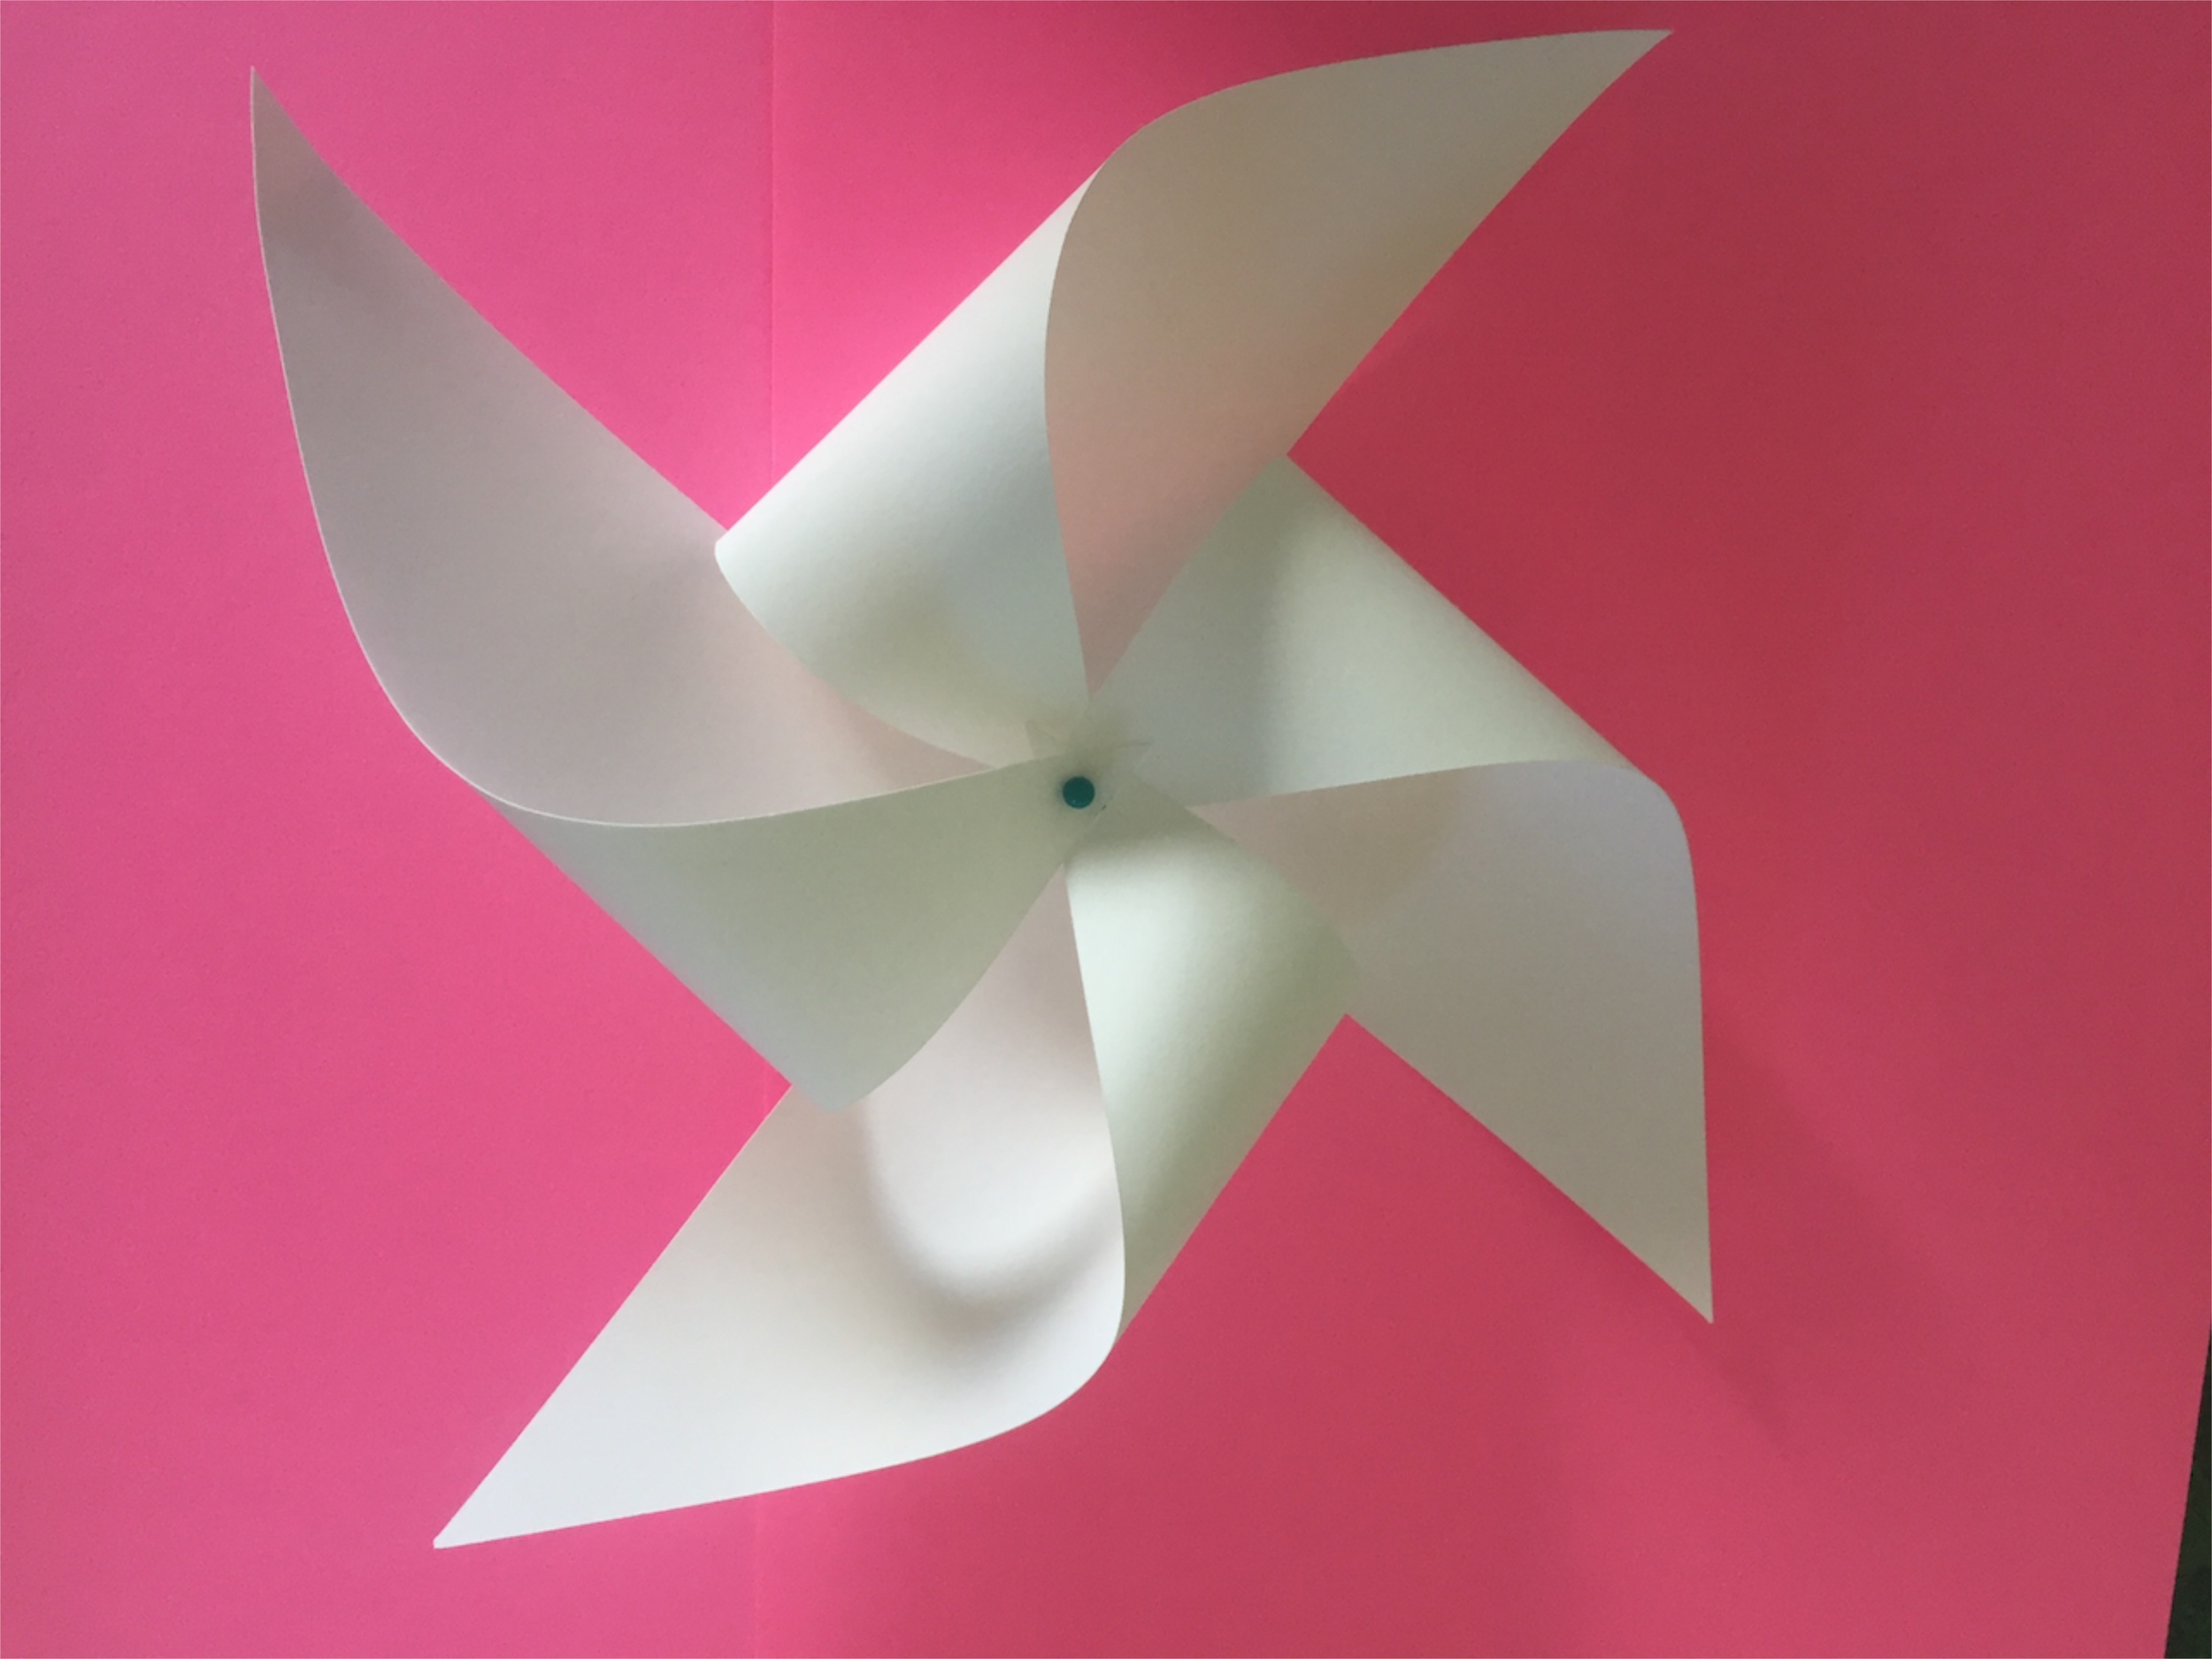
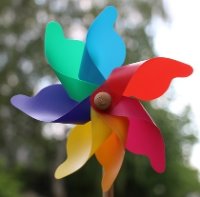
This simple activity offers numerous opportunities to talk about shapes, angles, measurement, fractions, and other math concepts. More complex pinwheels, like that on the right, provide extended learning opportunities.
Beyond math and engineering design, pinwheels are a great introduction to windmills and turbines and related energy and environmental issues.
It’s easy to move from STEM to STEAM and integrate the arts. Let kids color pinwheels to create intriguing effects when spun. Challenge students to design more complex and unique pinwheels. There are plenty of models on the Internet. Test your pinwheels on a windy day or with a fan, and celebrate with a pinwheel art festival.
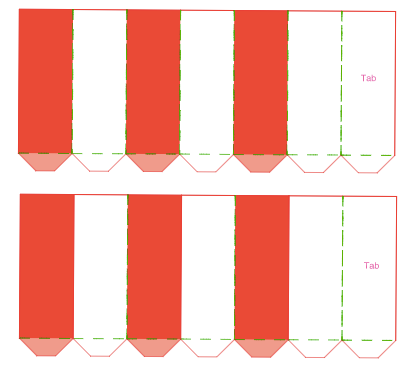
Circus Tent
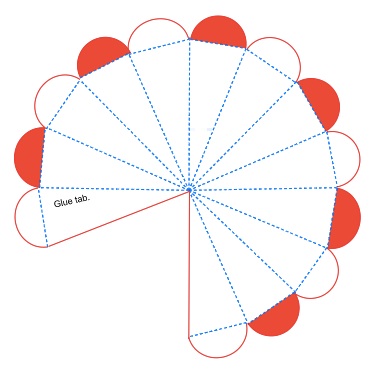
Designing a circus tent is more challenging and involves some more complex mathematical and design thinking.
The sides are simple red and white panels. We (1) created a rectangle in Maker Studio, (2) used the Tab tool to automatically add a tab, (3) replicated the part, and (4) snapped copies together using the Magnetize tool to align them. Snap, snap, snap. Easy.
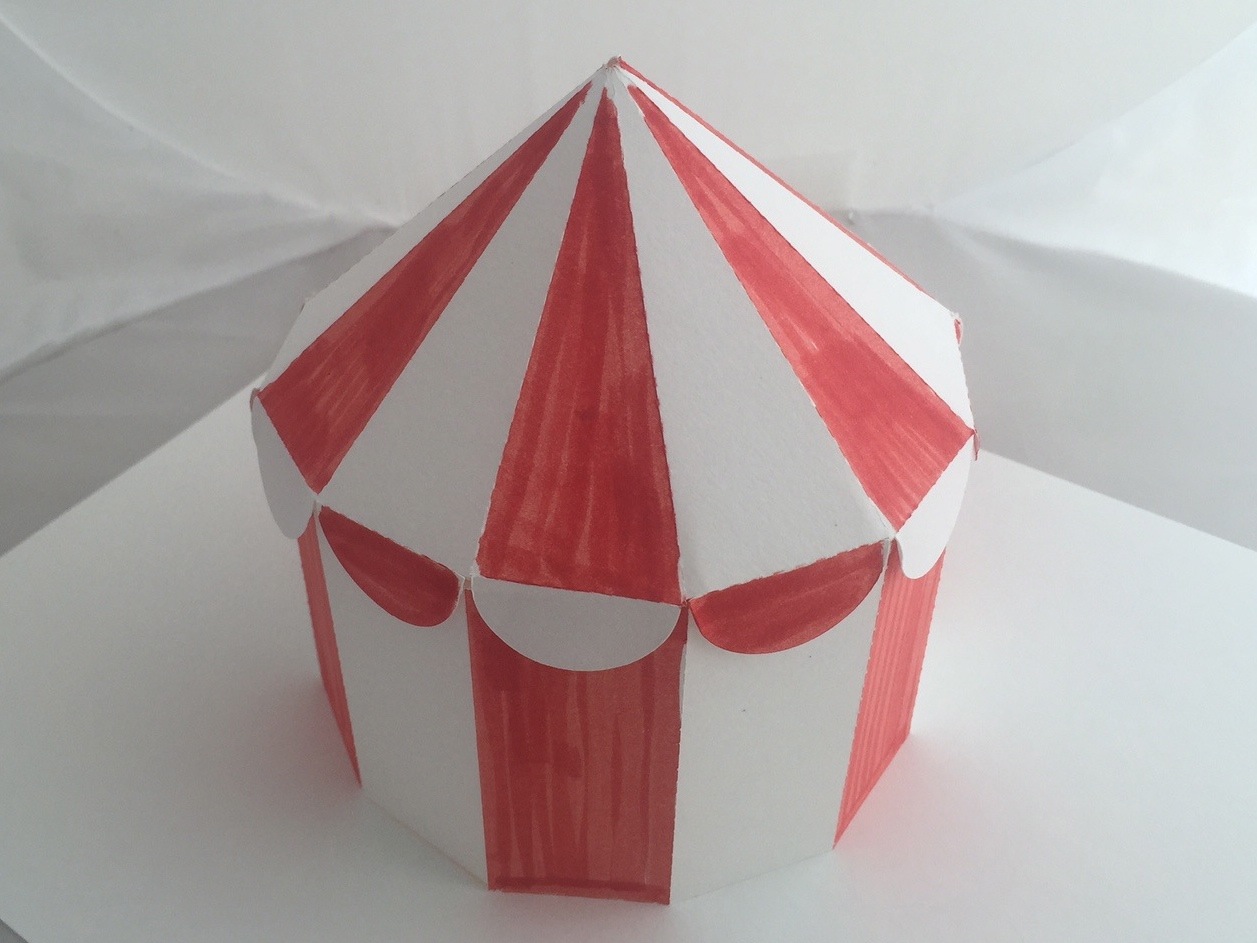
But how many panels do we need? And how wide should each panel be? That depends on the size of the tent. Kids tend to keep adding sides without thinking about the circumference of the tent, but this is part of the learning process. They’ll have to revisit this decision when they design a base to stabilize their tent and need to calculate the diameter.
Now on to the big top! What shape are the roof panels? How many panels do you need? How wide is the base of the panel? And how does the height or length of each panel affect the shape of the roof? There are dozens of questions, alternatives, and deliberations. Our first fabrication was not quite right, but fabricating with paper and cardstock is fast and inexpensive, so multiple iterations were easy, and we ended up with a satisfactory model.
We could have downloaded templates from the Internet, but allowing children to engineer their own tent supports deeper learning and greater pride in their work. And aligning hands-on activities with kids’ experiences, whether it’s a carnival or holiday or some other current event, makes learning more meaningful and memorable.